


Your language-teaching mission, should you choose to accept it, is to use a Theatre of the Absurd scene so that students can explore the Absurdist movement, comprehend when and how to use inverted questions, engage in textual analysis, and show their understanding through creating their own dialogues.
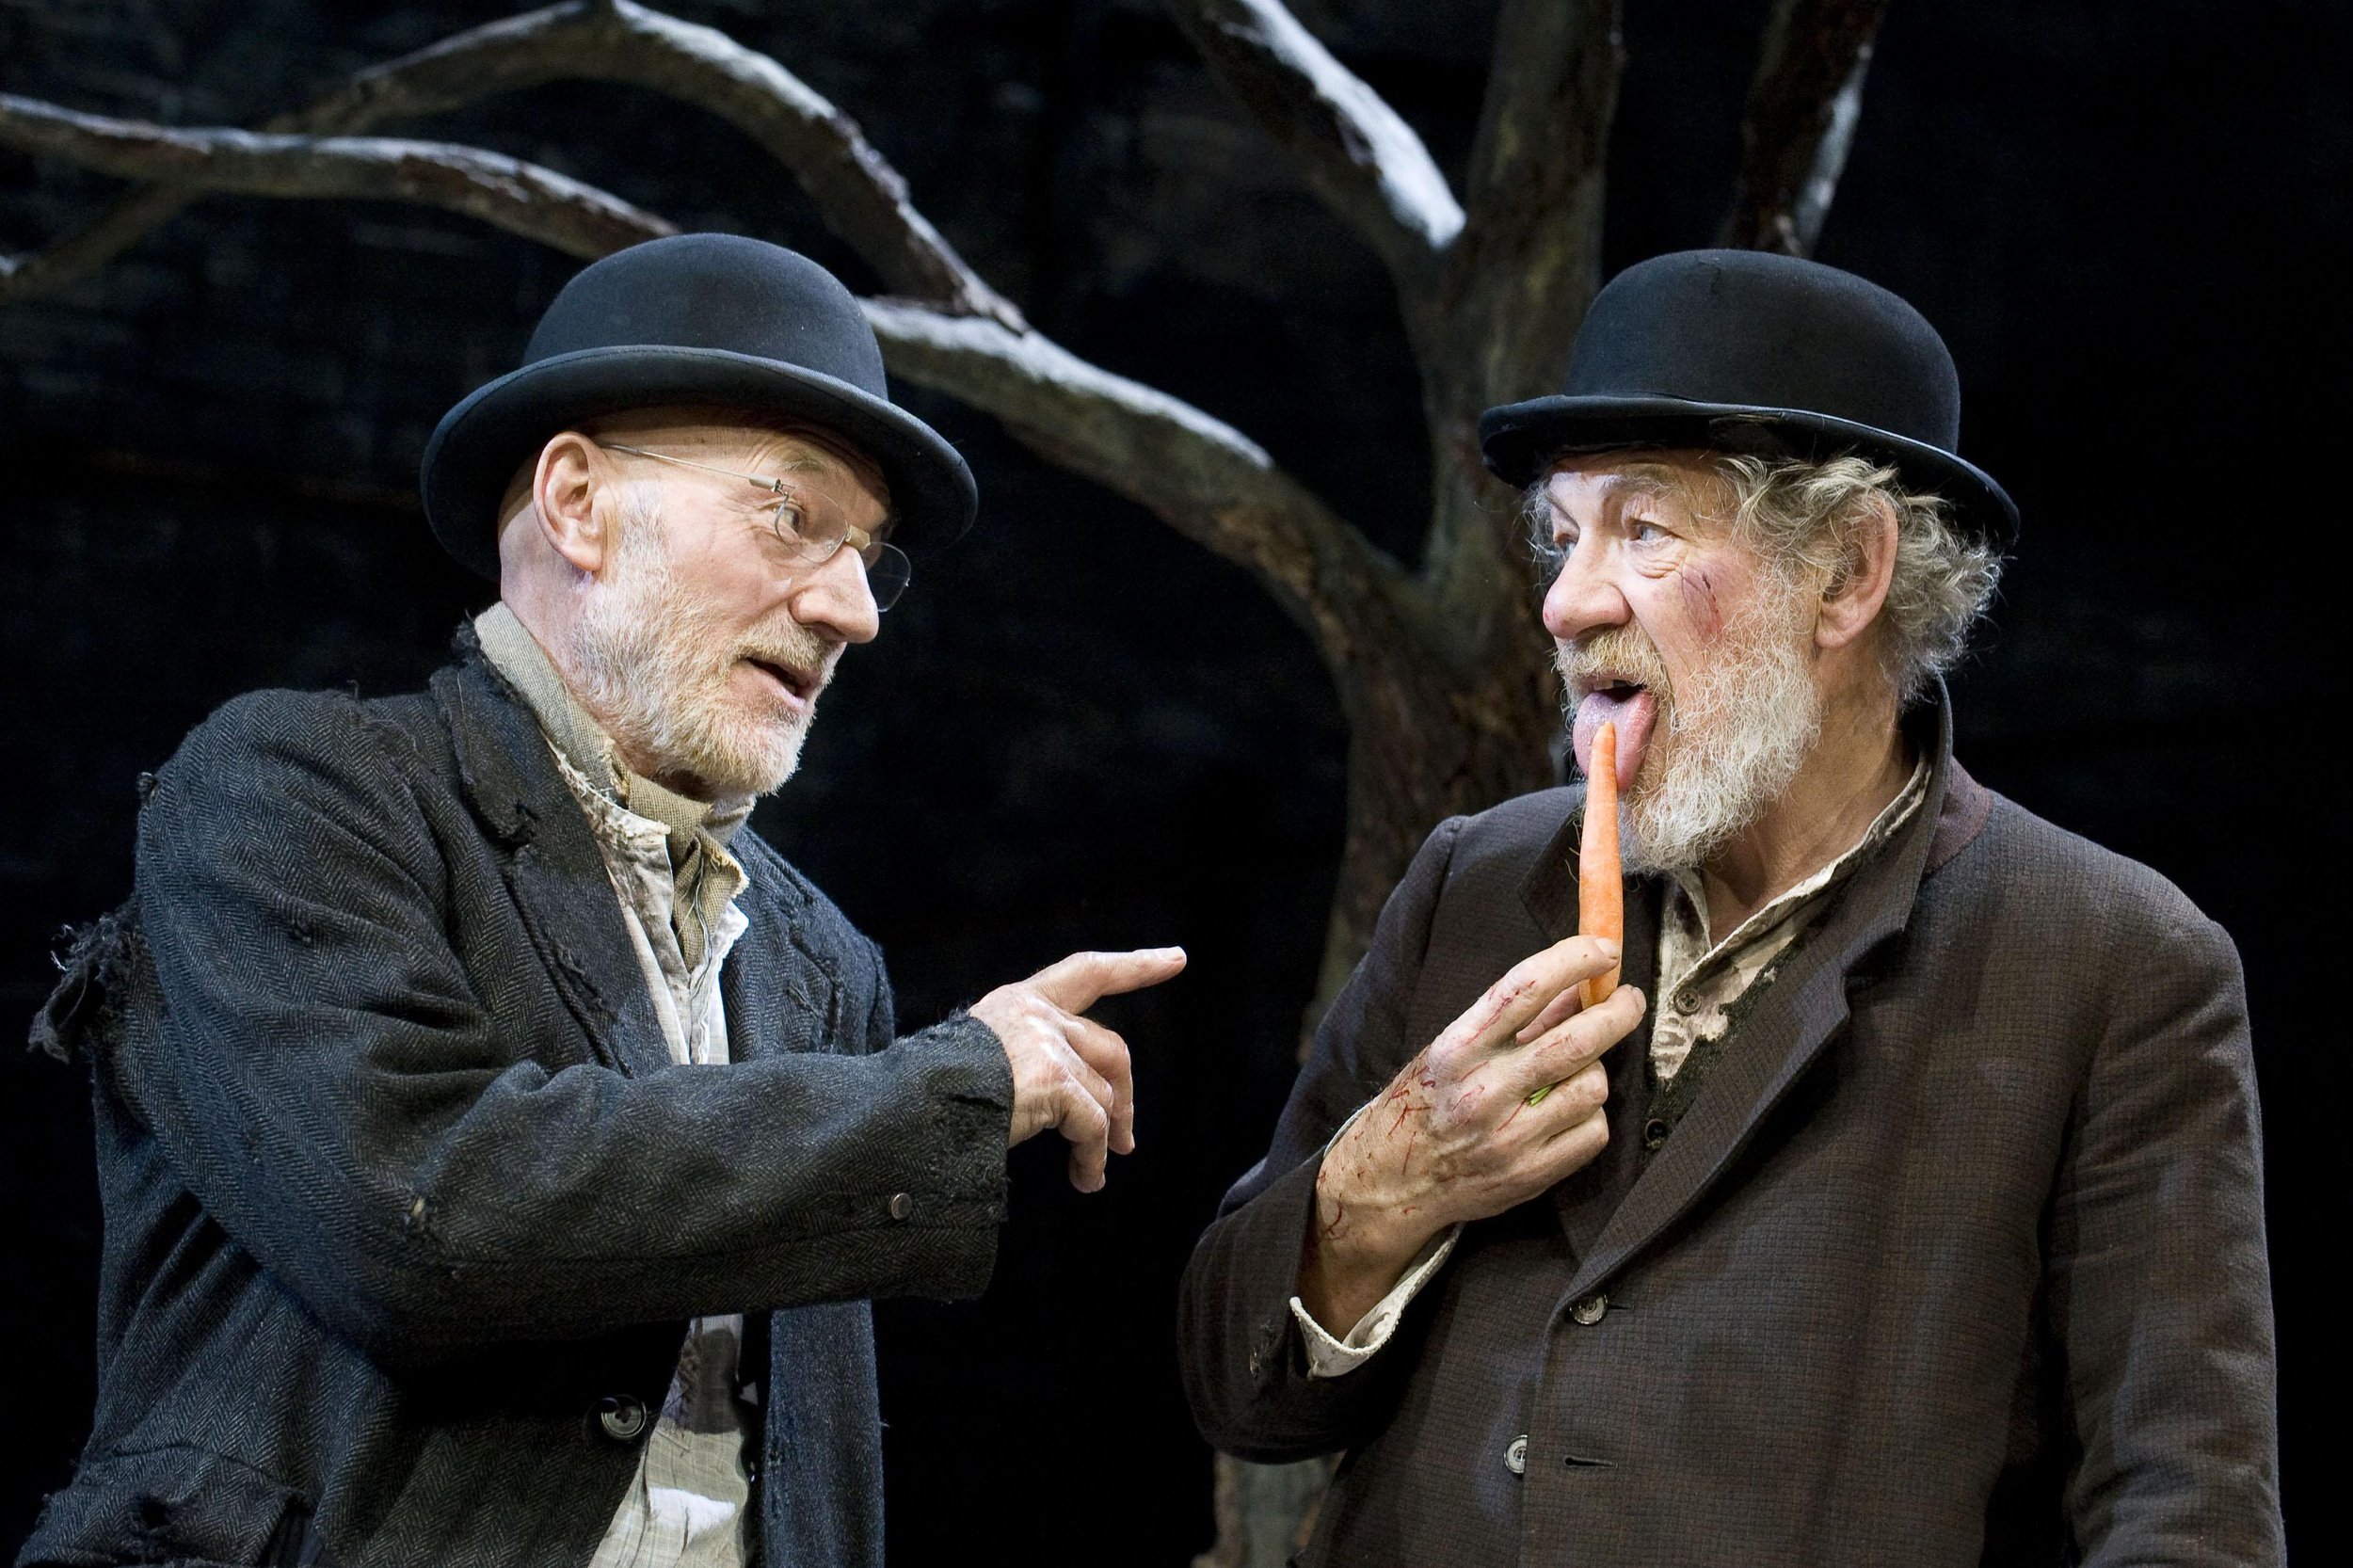
Image source: https://www.thetimes.co.uk/article/beckett-s-waiting-for-godot-was-ugly-jet-of-marsh-gas-that-enraged-censors-5cr6tth6z
I do a whole comedy unit with high intermediate learners (the third or fourth year of them taking language classes) where we talk about comedy is and what forms it can take (stand-up, comics, cartoons, improv, sit-coms, mime, etc.) One of my favorite sections is to examine the Theatre of the Absurd, though this activity can be done with any other unit or as a quick one-off lesson! The Theatre of the Absurd movement is more of a “tragi-comedy”, as the humor comes from the lack of meaning the universe has to offer us (HILARIOUS!). But seriously, so much of humor is absurd, and there is a lot of word play to explore as well. I’m going to be using a French text as an example of how I teach this lesson, but the most famous Theatre of the Absurd play is “Waiting for Godot” and I’m sure you can adapt this lesson to any language!
I don’t normally teach using scripted plays, but I make an exception here, because it ultimately ends up with students creating their own! As for the activities I describe, the script I’m referring to is from En Direct 1, which was published in 1993. These textbooks are no longer in print, so I feel comfortable sharing it below. (Nelson Publishing, if I’m wrong, I’m happy to take it down!)
This text was originally a play written by Roland Dubillard in 1953 which aimed to demonstrate the tenets of the Theatre of the Absurd movement: life is meaningless and the universe is inexplicable. Then, the En Direct 1 textbook adapted an excerpt for French language learners. In comparing the text to the original, I’d say that I would much rather use the adapted text with my students, however some of you may have much more advanced learners in your class who would appreciate the original (and you could watch the video of French actors performing it). The adapted text is shorter, has simpler vocabulary, the subjunctive is removed, and any reference to smoking and alcohol are removed. Most importantly, all the questions were put in the inverted form in order to highlight that particular grammatical feature, such as transforming the original’s simple “Pourquoi?” into “Pourquoi ne supportez-vous pas la pluie?”. However, in my opinion, Dubillard’s original message remains within the modified text. For me, this is also an opportunity to practice some teacher transperancy and discuss with students why I make the choices that I do. I would be interested in their thoughts on authentic texts versus adapted texts and/or their thoughts on censoring mentions of smoking and drinking.
Potential learning objectives:
Recognizing the inverted questioning technique (how it is constructed and when it is used)
Listening comprehension (this can be paired with a fill-in-the-blanks activity where students listen for the questions and how they are constructed)
Textual analysis through the genre of the Theatre of the Absurd
Cultural competence through understanding the French historical context of the Absurdist movement
Practicing speaking through creating an absurdist mini-scene
RESOURCE: Theatre of the Absurd Worksheet for students in .docx
RESOURCE: Theatre of the Absurd Worksheet for students in .pdf
RESOURCE: Adapted script of La Pluie (PDF)

Image source: http://50watts.com/The-Children-s-Theater-of-the-Absurd
PART I: Depending on the level of my students, I like to introduce the Theatre of the Absurd with a video in either French or English (or both!). I’ve found two videos that I recommend that are under 3 minutes: The best French video I’ve found is by Pierre Teuler and the best English video is by the BBC. Through watching the videos, we make a list of characteristics of the Theatre of the Absurd or the Absurdist movement (which we’ll come back to in Part III). I also recommend this post if you want to have stronger grounding in the Theatre of the Absurd movement yourself for context. You can also watch these videos for more information:
TedEd video “Why should you read ‘Waiting for Godot’?” by Iseult Gillespie (5:03)
CrashCourse video “Beckett, Ionesco, and the Theater of the Absurd: Crash Course Theater #45”
Un plume fragile video “Mouvement littéraire : Le théâtre de l'absurde - résumé et explication”
PART II: Listen to the text. The original cassette tape is looooong gone, but this part is important since plays are meant to be performed! You could get a fellow French teacher to record a version with you to play or perhaps you could ask some strong students to read it aloud (after giving them the script ahead of time to look it over). The worksheet I have has students filling in the blanks with the inverted questions that they hear. I have a bank of the answers that students can use, but for stronger students you can remove the bank. As we go through, I tend to pause to clarify for understand (as much as you can truly understand Theatre of the Absurd!). You can also show a video of the original text (or a short clip from it) being performed once you’re done. Although students might not understand it all, there is something special about seeing how actors are able to imbue a play about meaninglessness with so much meaning and physicality!
PART III: Go back to the list of characteristics. How does this text represent the Absurdist movement? In the worksheet I made, I left space around the script for students to annotate on the actual script. Below are some examples of what I’ve pulled from the text, but your answers may be completely different!
Believed life is meaningless and the universe is inexplicable = Person Two is unable to find an answer as to why Person One does not support the rain, and we are unable to understand what that even matters in the first place
Wanted to represent a more dream-like environment of confusion and ambiguity, unlike most plays which try to represent reality on stage = Person One begins by stating “Je ne supporte pas la pluie”. This is a bewildering statement to both Person Two and the audience, and as the scene continues to confound us, we must eventually accept that understanding will always be an impossibility
Wanted the audience to distrust language as a communication tool, as they believed that language was incapable of truly expressing the human condition = the ambiguity of language is highlighted through the use of the verb “supporter”, which like in English, can have a variety of meanings, such as to accept, to take responsibility for, to tolerate, or to root for
Draws attention to the banality of every-day conversation = the words spoken in the dialogue are conversational and colloquial, such as the use of “Eh bien… je suppose que…” and “Hou!”
Use of questions to represent the struggle humans have to understand an inexplicable reality = Person Two uses questions to attempt to clarify why Person One does not support various things associated with the rain. This is also how ideas are connected and flow: despite each question eliciting another illogical tangent, the questions are able to move the dialogue forward.
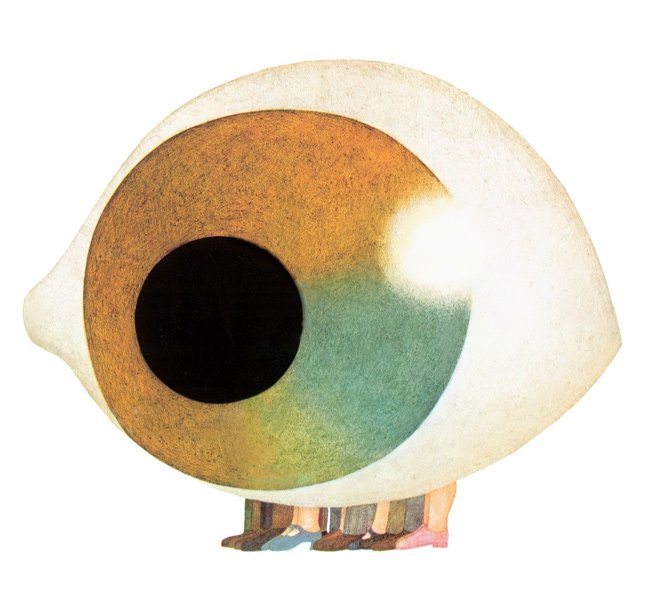
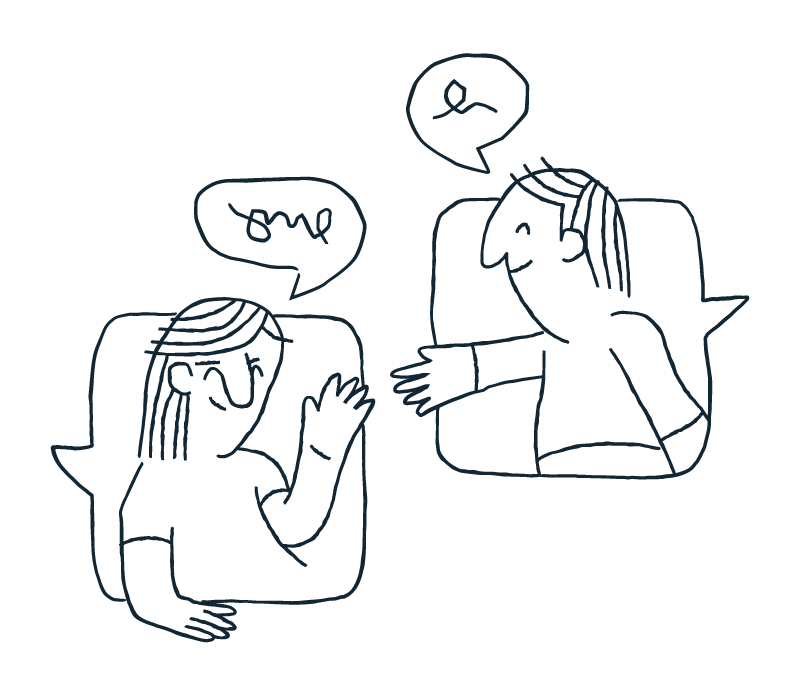
Image source: http://50watts.com/The-Children-s-Theater-of-the-Absurd
PART IV: Students pair-off and write their own absurdist dialogue. In the first column they have the script, in the second part they annotate how this conforms to the tenets of the Theatre of the Absurd, using La Pluie as a model. This is also an opportunity to focus on creating inverted questions! For students that might need inspiration to get started on their scenes, you could have a hat with pieces of paper with a bunch of weather phenomena (ex. the rain, the snow, a rainbow) or another theme (ex. normal activities or common objects) to give students inspiration.
PART V: Have an ‘absurdity-off’!!! A pair of students perform their absurd dialogue for another pair. Between the two groups, they decide which of the two texts were more absurd (honor system). Continue with the winners going up against a new pair (while the pair that was eliminated gets a chance to watch other pairs perform). After there are only two groups left, they perform for the class as a whole and the class votes on the ‘Most Absurd’ dialogue. (NOTE: If you have group that is strong with improv and seems to grasp the concept easily, you can skip Part IV, or at least make it less scripted, having them sketch out their basic idea rather than write out an entire script).
POTENTIAL CONTINUATION/FORMATIVE FEEDBACK: Students individually rewrite the script they made with their partner, paying attention to grammar and vocabulary (which likely has some errors since they quickly wrote it in class). However, the catch is that while they can keep the answers, they have to make completely new questions! (Or the opposite: they need to make completely new answers to the original questions! Or they exchange their scripts with another group and need to do this!) Students then hand it in for the teacher to give feedback on inverted question formation. I also usually start the next day with a warm-up game that involves absurd inverted questions.
UPDATE: I’ve adapted this lesson for a Drama Grammar lesson template, which you can check out here.
How do you use different types of drama in your classroom? Have you ever explored the Theatre of the Absurd with students? Share in the comments!


